
Harvest doesn't wait for paperwork, and neither should your cellar work. That's the thinking behind our latest update to intake, a change that collapses what used to be a two-step, sequential process into something faster and more forgiving of how wineries actually operate.
In this post, we'll walk through the new intake process step by step, using two scenarios that show off different sides of the same flexible workflow:
- Standard Intake: receiving grapes on harvest day, when the weight is known right away.
- Planned Intake: scheduling a future bulk wine delivery before it arrives, with no weight yet on record.
Same process under the hood. Very different use cases. Let's get into it.
A quick refresher: what changed
Previously, intake required two distinct steps: receive the item, then create a Lot from it. Nothing else could happen, no winemaking activity, no work orders, until the weigh tag was finalized. That made sense in theory but caused real friction whenever data entry lagged behind what was physically happening on the crush pad.
Now, receiving and Lot creation happen together, in one screen. Intakes stay open, visible in their own tab, until you're ready to close them out and generate the weigh tag. While an intake is open, the associated Lot is fully live: you can work against it, write work orders, and record winemaking activity, all before the paperwork is final.
With that context in mind, let's walk through it.
Flow 1: Standard Intake, Receiving Grapes on Harvest Day
This is the flow you'll use most during harvest: a truck arrives, you know the weight, and you want to get the fruit logged and moving quickly.
Step 1: Open the Intake tab
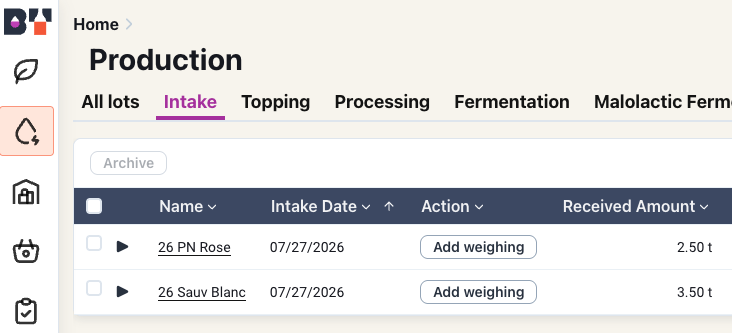
Navigate to Production > Intake. This tab is new. It's your home base for everything intake-related, showing both open and archived intakes in one place.
Step 2: Start a new intake
Click Create and select the type of material you're receiving, in this case, Grapes. This is the same starting point you're used to; nothing changes here.
Step 3: Fill out the combined intake + Lot screen
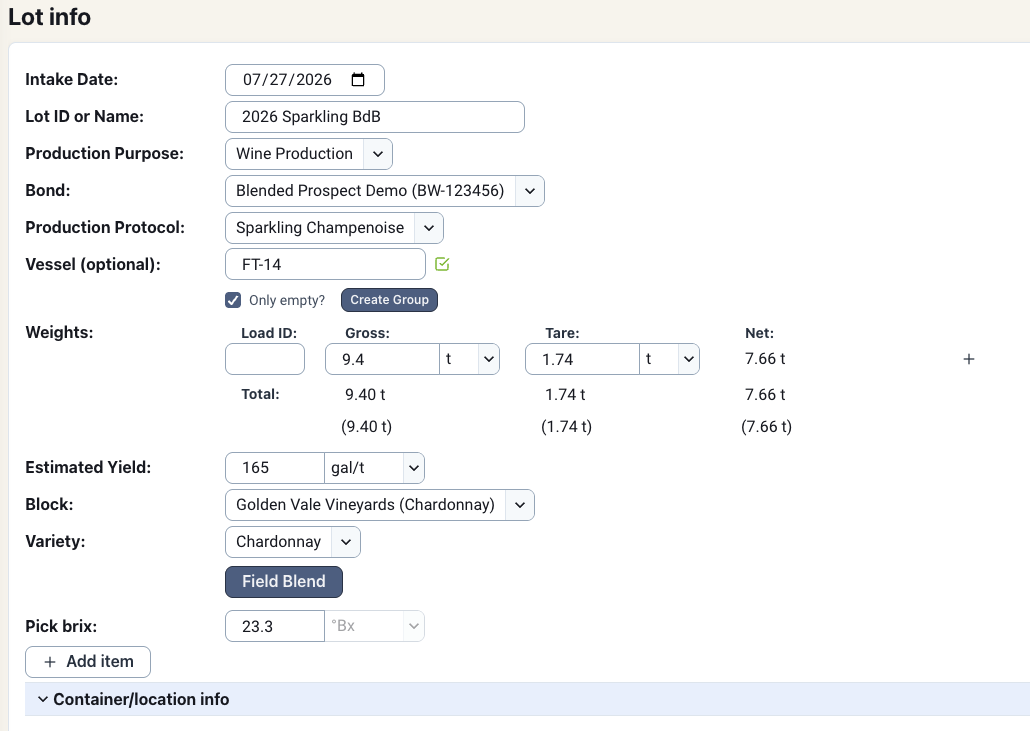
This is where the update shows up. Instead of a separate "receive" step followed by a "create Lot" step, you'll see a single screen that captures both:
- Grower/vineyard block details
- Variety, tonnage, and weight (optional)
- Any intake-specific notes (Brix, pH, condition at intake, etc.)
- The Lot name that will be created from this intake
Step 4: Save the intake
Click Save. Two things happen at once:
- The intake appears as open in your Intake tab.
- A Lot is created and linked to that intake automatically.
Step 5: Get to work, before closing anything out
Here's the payoff. With the intake open and the Lot live, your cellar team can immediately start recording winemaking activity against that Lot: cold soak additions, punch-downs, whatever the protocol calls for. You don't need to wait for a finalized weigh tag to start working the fruit. If a detail on the intake changes (say, a corrected tonnage), update it. The linked Lot updates automatically, right along with it.
Step 6: Close the intake when you're ready
Once everything's confirmed and there's nothing left to adjust, close the intake. This generates the weigh tag and archives the intake record. The Lot remains fully active for all subsequent winemaking work. Closing the intake just finalizes the paperwork behind it.
That's it. Fruit received, Lot created, work started, weigh tag generated, without ever being blocked waiting on a single step to finish before starting the next.
Flow 2: Planned Intake, Scheduling a Future Bulk Wine Delivery
Now let's look at a very different use case that the same workflow supports: planning ahead for a bulk wine delivery you know is coming, but hasn't arrived yet, and won't have a weight until it does.
Step 1: Open the Intake tab
Same starting point as before: Production > Intake.
Step 2: Start a new intake
Click Create and select Bulk Wine as the material type.
Step 3: Fill out what you know, and forward-date it
This is where Flow 2 diverges from Flow 1. You don't have a weight yet, and that's fine. It's no longer required to save an intake. Instead:
- Enter the source and any known details about the delivery (supplier, varietal, expected volume estimate if you have one)
- Set the expected date to the future date you anticipate the shipment arriving
- Leave the weight field blank
Step 4: Save the intake
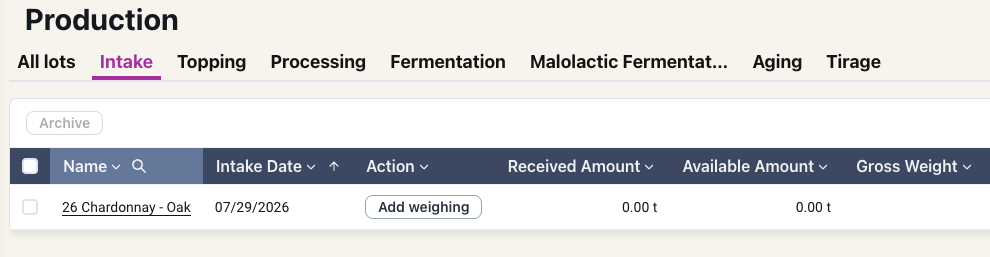
Click Save, just like before. The intake is created in an open state, dated for the future, and appears in your Intake tab alongside any same-day intakes. Just as in Flow 1, a Lot is created and linked automatically, even though no material has physically arrived yet.
Step 5: Plan ahead against the Lot
Because the Lot already exists, you're not just holding a placeholder. You can actively plan around it. Write work orders for the winemaking activities you expect once the wine arrives. Schedule tank assignments. Loop in the cellar team on what's coming and when. All of this can happen days or weeks before the delivery shows up.

Step 6: Update the intake when the delivery arrives
When the bulk wine actually arrives, go back into the still-open intake and fill in the real numbers: the actual received weight/volume, plus any last details. The linked Lot updates automatically to reflect the finalized information.
Step 7: Close the intake to generate the weigh tag
Once the numbers are confirmed, close the intake. The weigh tag is generated at this point, same as always. It's just that in this flow, that final step might happen weeks after the Lot itself was created and after work was already planned against it.
Prefer video? Check out our video guide for the new intake workflow.

.webp)